This tutorial takes you from an empty dPanel account to a WordPress site answering on your own domain with HTTPS. You launch an Ubuntu server, install MariaDB, PHP and FrankenPHP on it, create a database for WordPress, deploy the dPanel-ID/wordpress-example repository, and put a load balancer in front of it.
It takes about 40 minutes, most of it waiting for the server and the installs. Every step happens in the dPanel web app; you never need SSH.
What you need first
- A dPanel account, signed in, in the workspace you want to use. See Sign in.
- GitHub connected, with access to the repository you deploy. To follow along exactly, fork dPanel-ID/wordpress-example into your own account. See Connect GitHub.
- An SSH key and a cloud account in dPanel, or a server of your own. See Before you start.
- A domain in Domain & DNS, so dPanel can create the DNS record for you. See Domains and DNS.
Step 1: Launch a server
- Open Servers, press Create Server, then Launch a server.
- Pick your Provider, Cloud project and SSH key.
- Pick a Region near your visitors.
- Set Server name, for example
wordpress-1, keep Ubuntu release 24.04 LTS, and move the sliders to at least 2 vCPU and 4 GB RAM. 30 GB of storage is enough. - When the Review panel says Ready to launch, press Launch server.
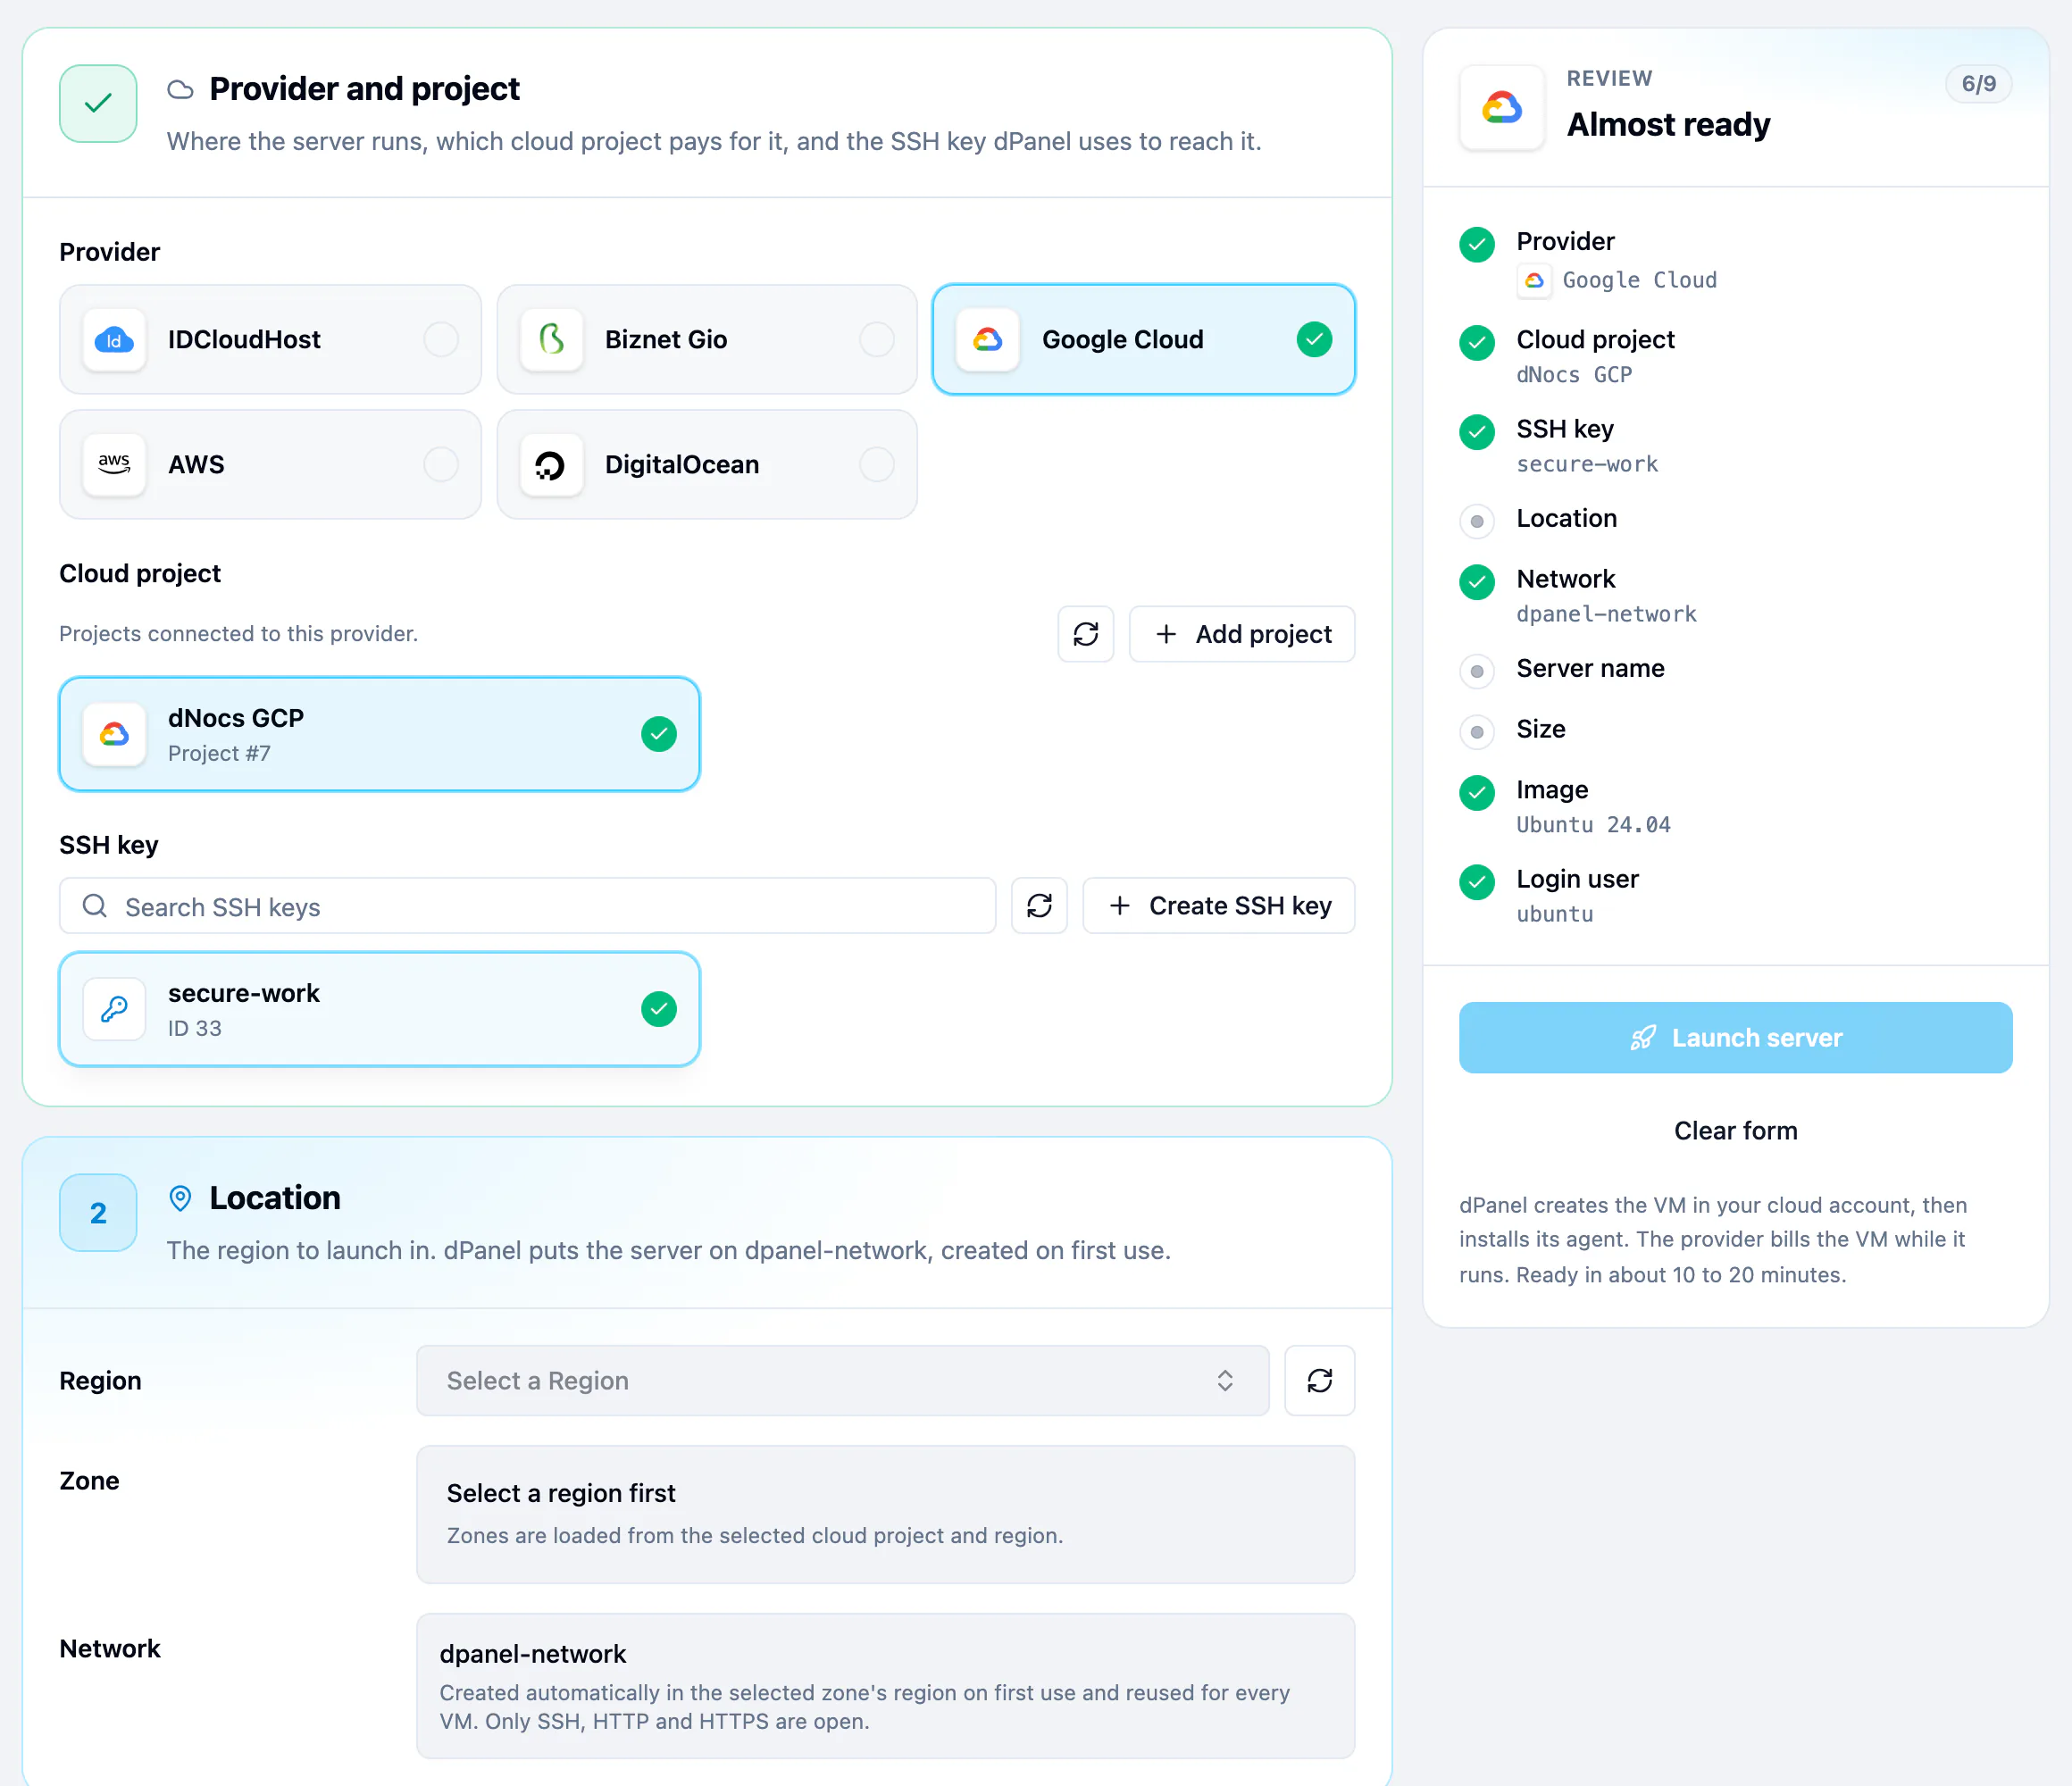
The server appears in the list. Wait until its status is Ready, usually 10 to 20 minutes. The full form is described in Create a cloud server. Already have a machine? Connect your own server instead.
You should see: the server listed under Servers with the status Ready.
Step 2: Install MariaDB, PHP and FrankenPHP
WordPress needs a database (MariaDB), the PHP language, and a web server that runs PHP (FrankenPHP).
- Open the server and go to Modules. Press Add module.
- Press Install on MariaDB. Set a Root Password you will remember, or keep the one suggested, and copy it somewhere safe. Press Install role and confirm.
- Wait until MariaDB shows Installed. Then install PHP with PHP Version
8.5. - When PHP is installed, install FrankenPHP.
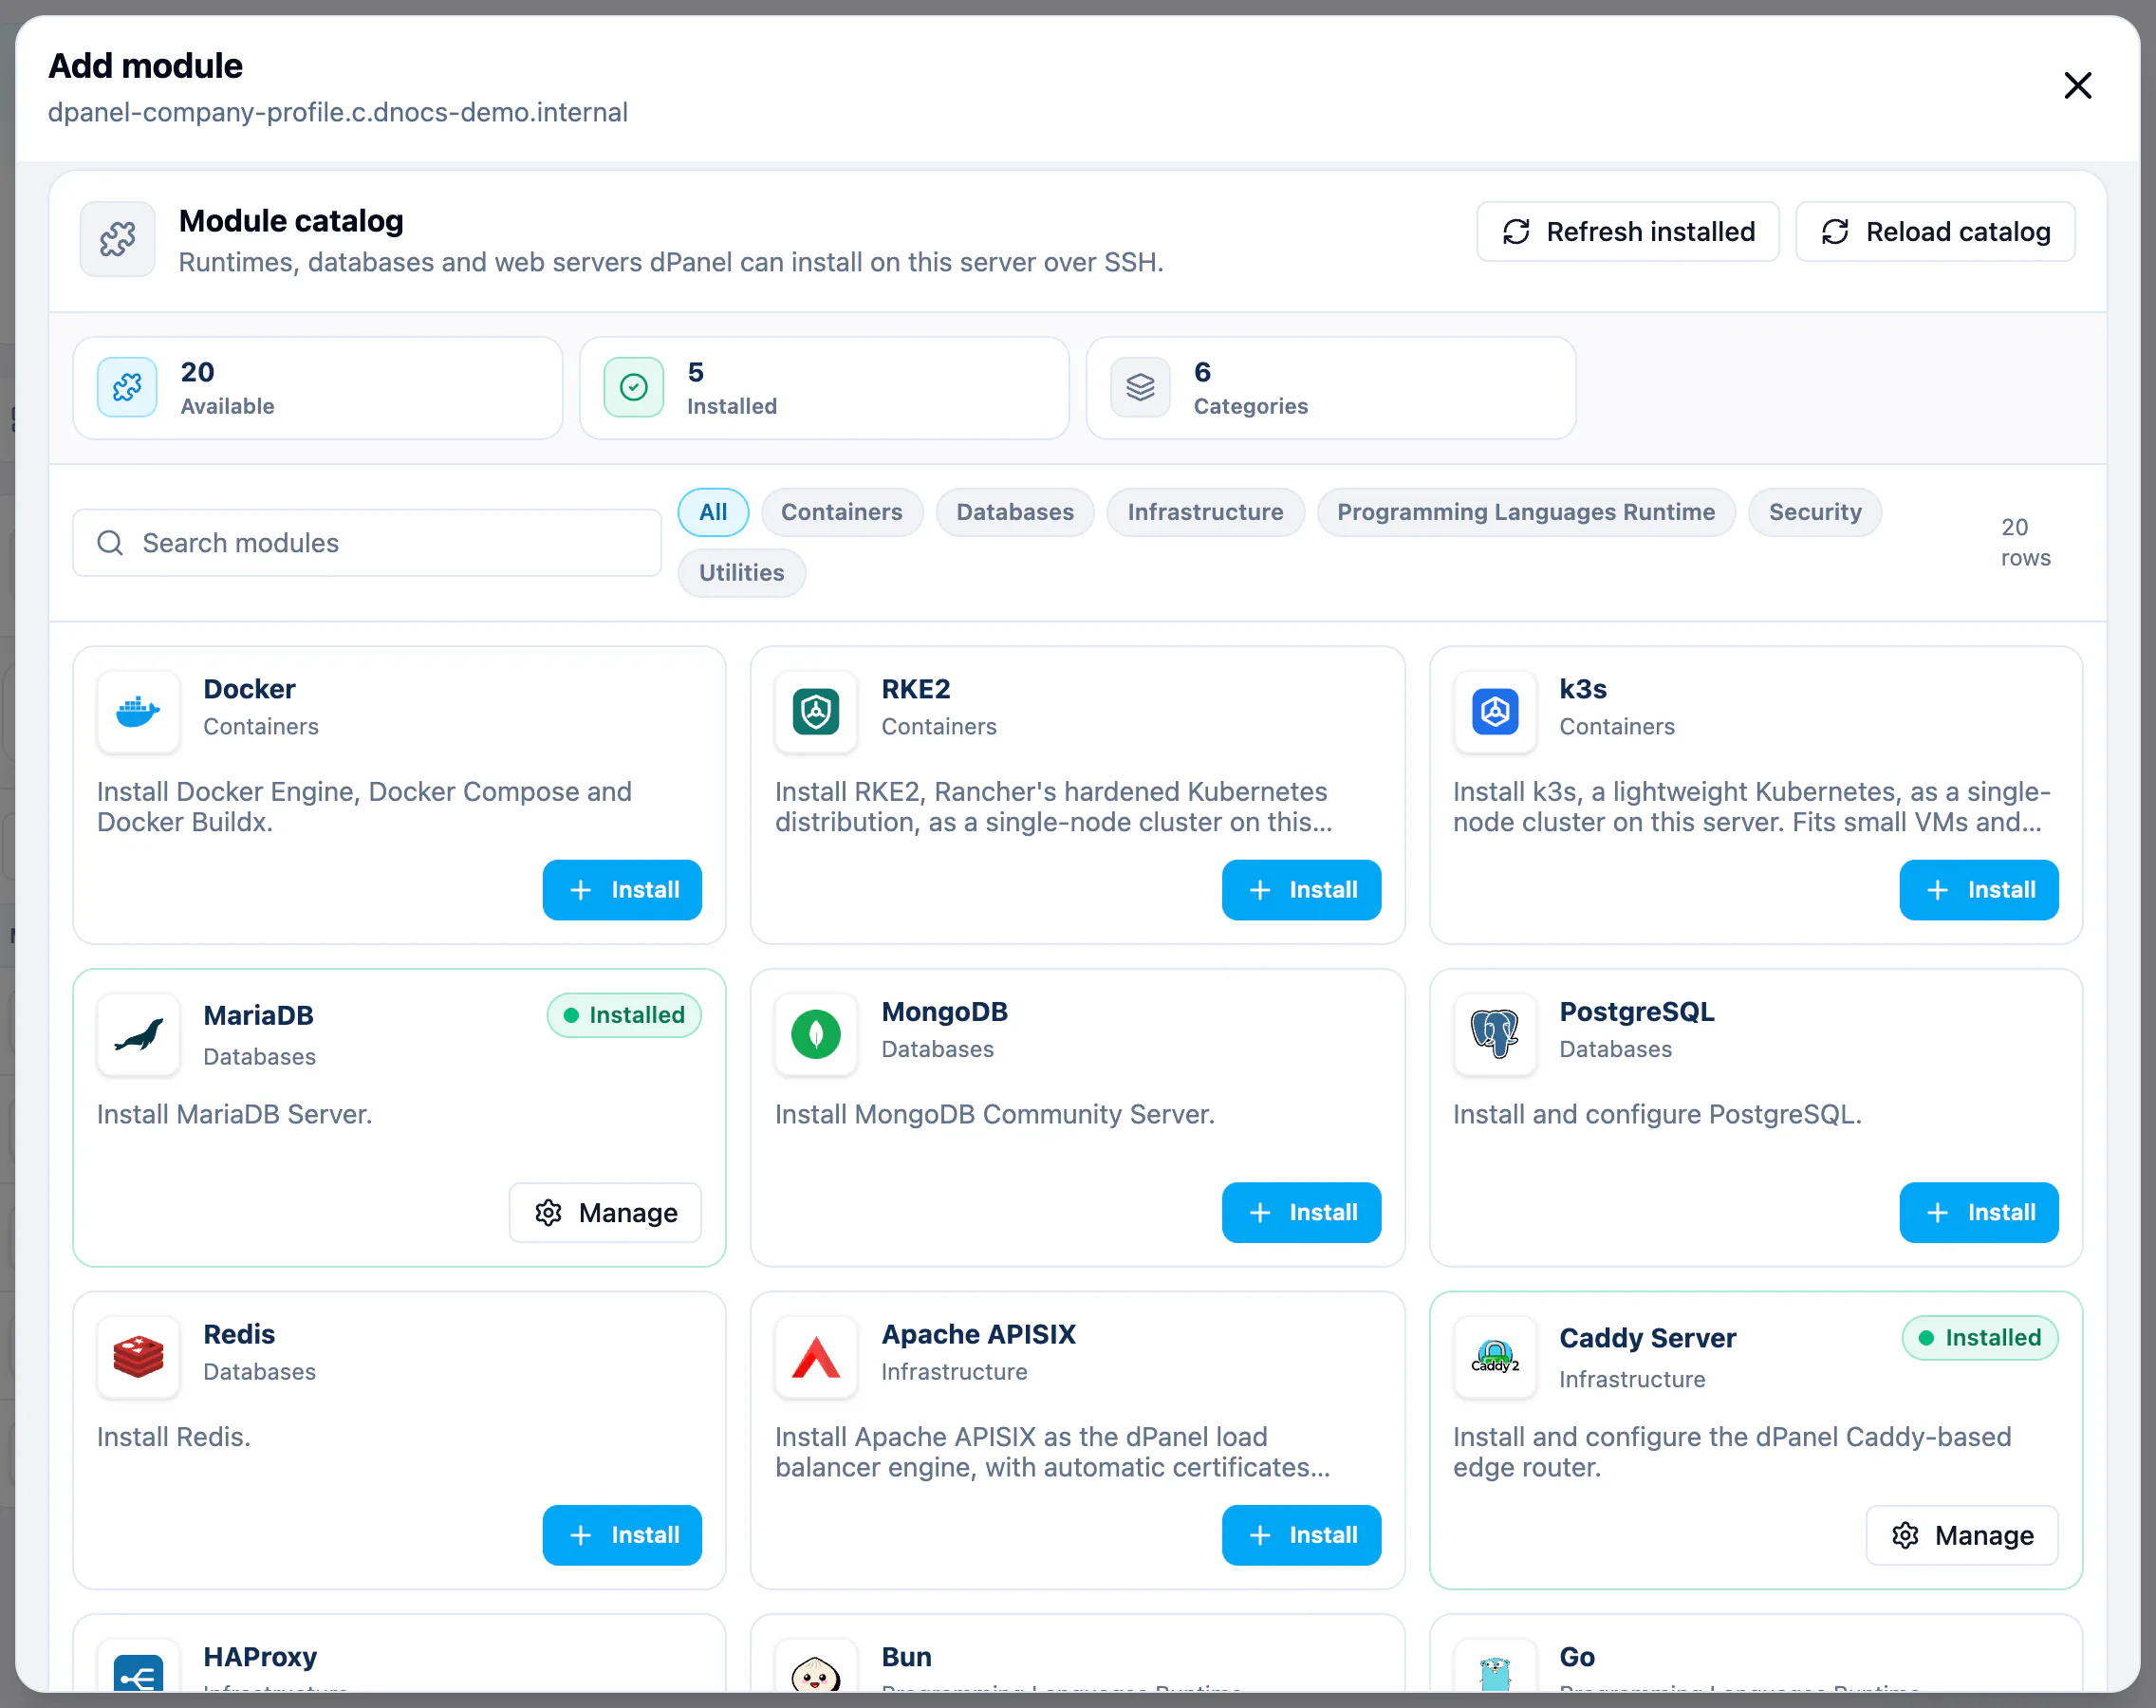
Install one module at a time and let each finish: dPanel queues installs, and the Modules tab shows each one moving from installing to Installed. See Install software.
You should see: MariaDB, PHP and FrankenPHP on the Modules tab, each marked Installed.
Step 3: Create the WordPress database
- On Modules, press Add module, then Manage on MariaDB.
- Under Databases, press Create database.
- Enter Database Name
wordpress, Database Userwp, and a Database Password of at least 8 characters. Copy the password: you need it in step 4. - Press Install role.
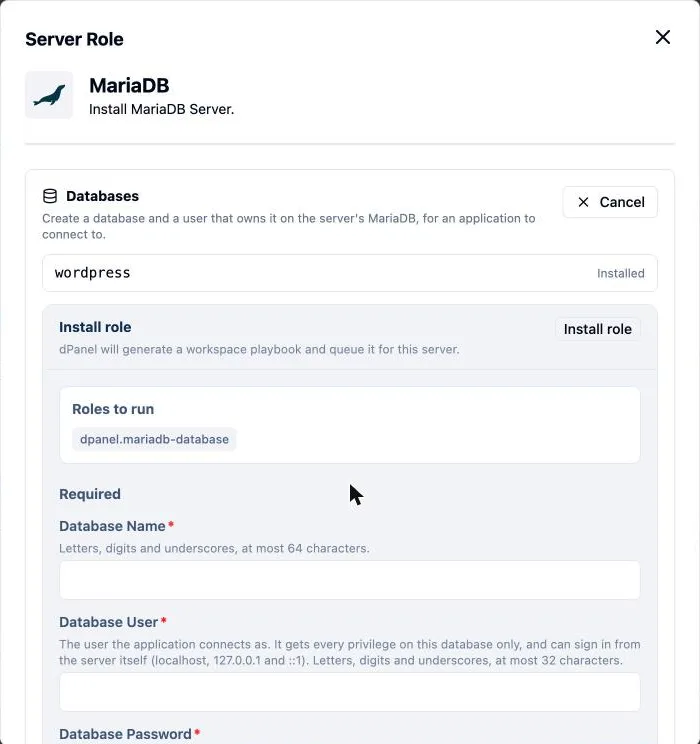
When it finishes, wordpress is listed under Databases. The user wp can reach only this database, from the server itself, which is how WordPress connects.
You should see: wordpress listed under Databases, and the password saved somewhere safe.
Step 4: Create and deploy the application
Open Applications and press Create Application.
Repository: pick your GitHub account, search for
wordpress-example, select it, keep the main branch, and press Continue.Server & modules: select your server. Under Installed on selected server, select PHP and FrankenPHP so they are reused, not installed again. Press Continue.
App setup:
- Application name:
WordPress(letters, numbers and spaces only). - Required binaries: php 8.5.
- Build steps:
./scripts/build.sh. - Runtime command:
./scripts/start.sh. - Application port: keep the free port dPanel suggests.
Environment: under Runtime variables, paste the list below. Replace the password with the one from step 3 and the address with the domain you will publish in step 5.
textWORDPRESS_DB_HOST=127.0.0.1:3306 WORDPRESS_DB_NAME=wordpress WORDPRESS_DB_USER=wp WORDPRESS_DB_PASSWORD=the-password-from-step-3 WORDPRESS_TABLE_PREFIX=wp_ WORDPRESS_HOME=https://blog.example.com WORDPRESS_SITEURL=https://blog.example.com WORDPRESS_MEMORY_LIMIT=256MPreview: check the summary and press Deploy application.
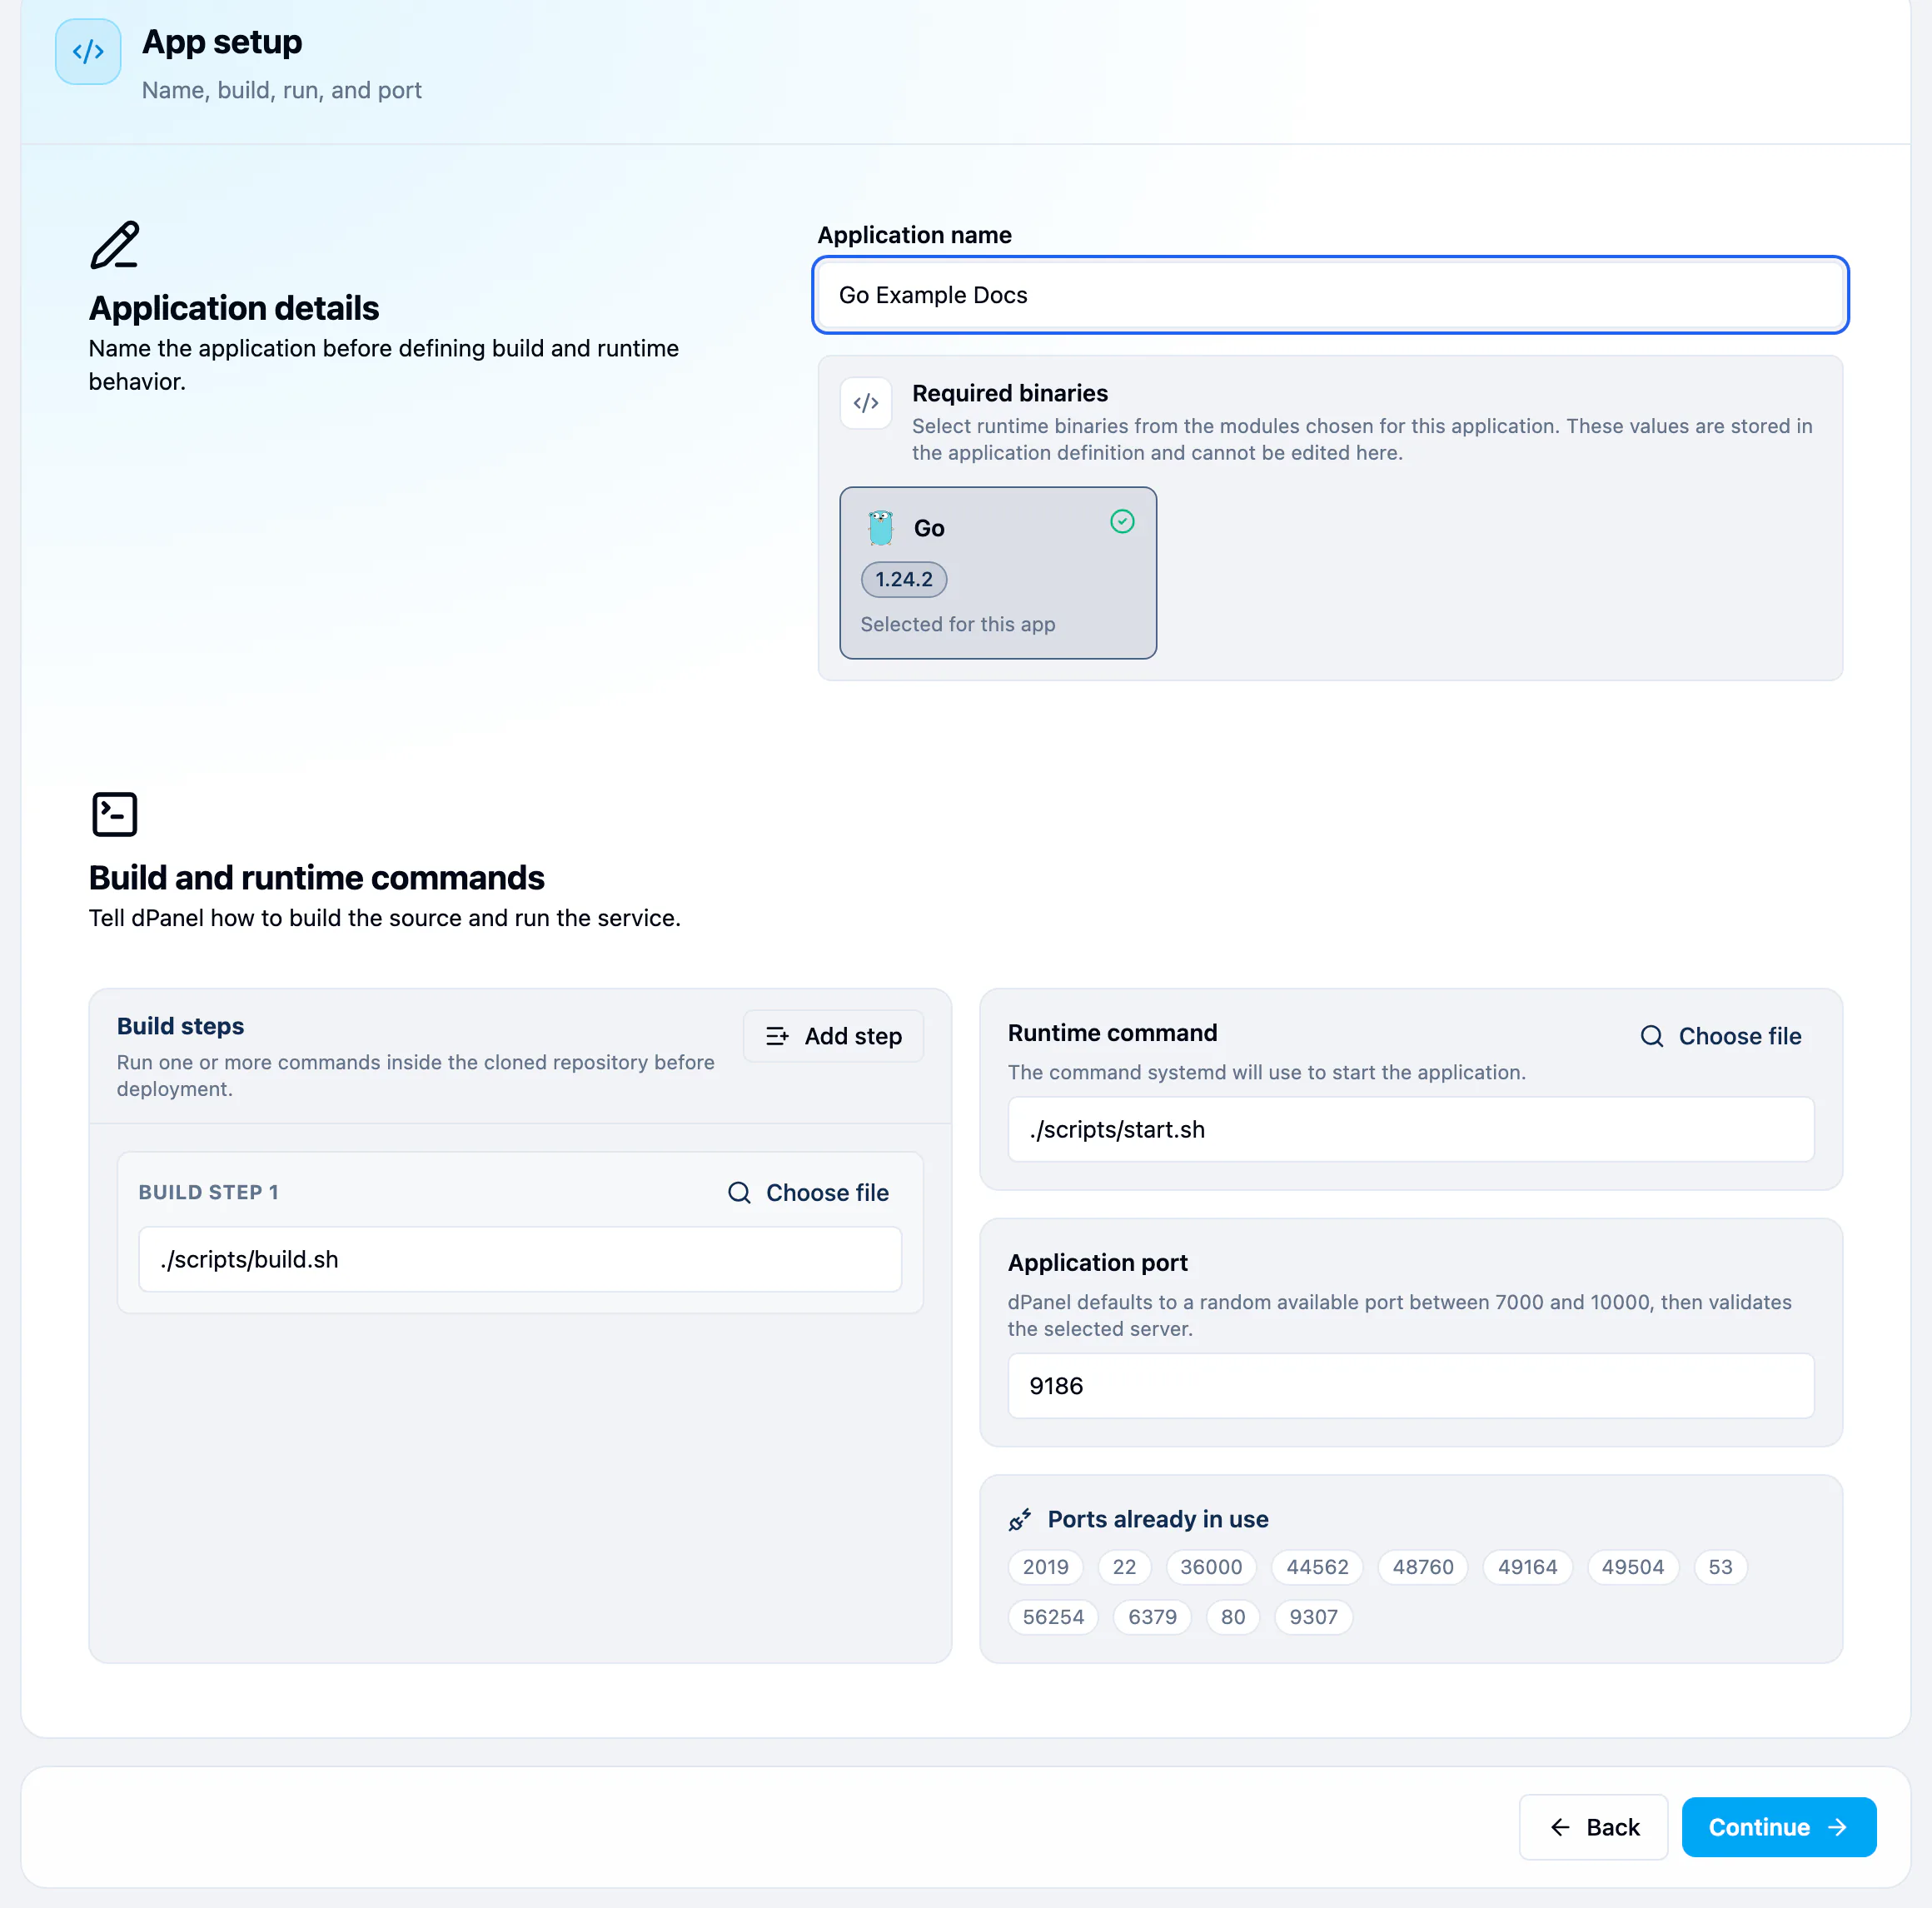
dPanel clones the repository on the server, runs the build and starts WordPress as a service. Open the application to follow the build; it shows Running when the release is live, usually in 2 to 5 minutes. See Create an application and Environment variables.
You should see: the application marked Running. It is not on the internet yet: that is the next step.
Step 5: Publish it on your domain with HTTPS
- Open Load Balancers and press Create a load balancer. The form has four steps: Gateway, Domain, Routing and Review.
- Gateway: under Gateway server, select the same server. Under Web server engine, pick Caddy Server and press Install if it is not installed yet.
- Domain: under Domain Name, choose Managed, type the Subdomain (for example
blog), and Select domain. - Routing: keep L7 under Routing mode, and HTTP / HTTPS with HTTPS on under Protocol and HTTPS. In the first rule, set Type to Application, Matching Path to
/*, and pick the WordPress application. - Review: when the review panel reads Ready to create, press Create load balancer.
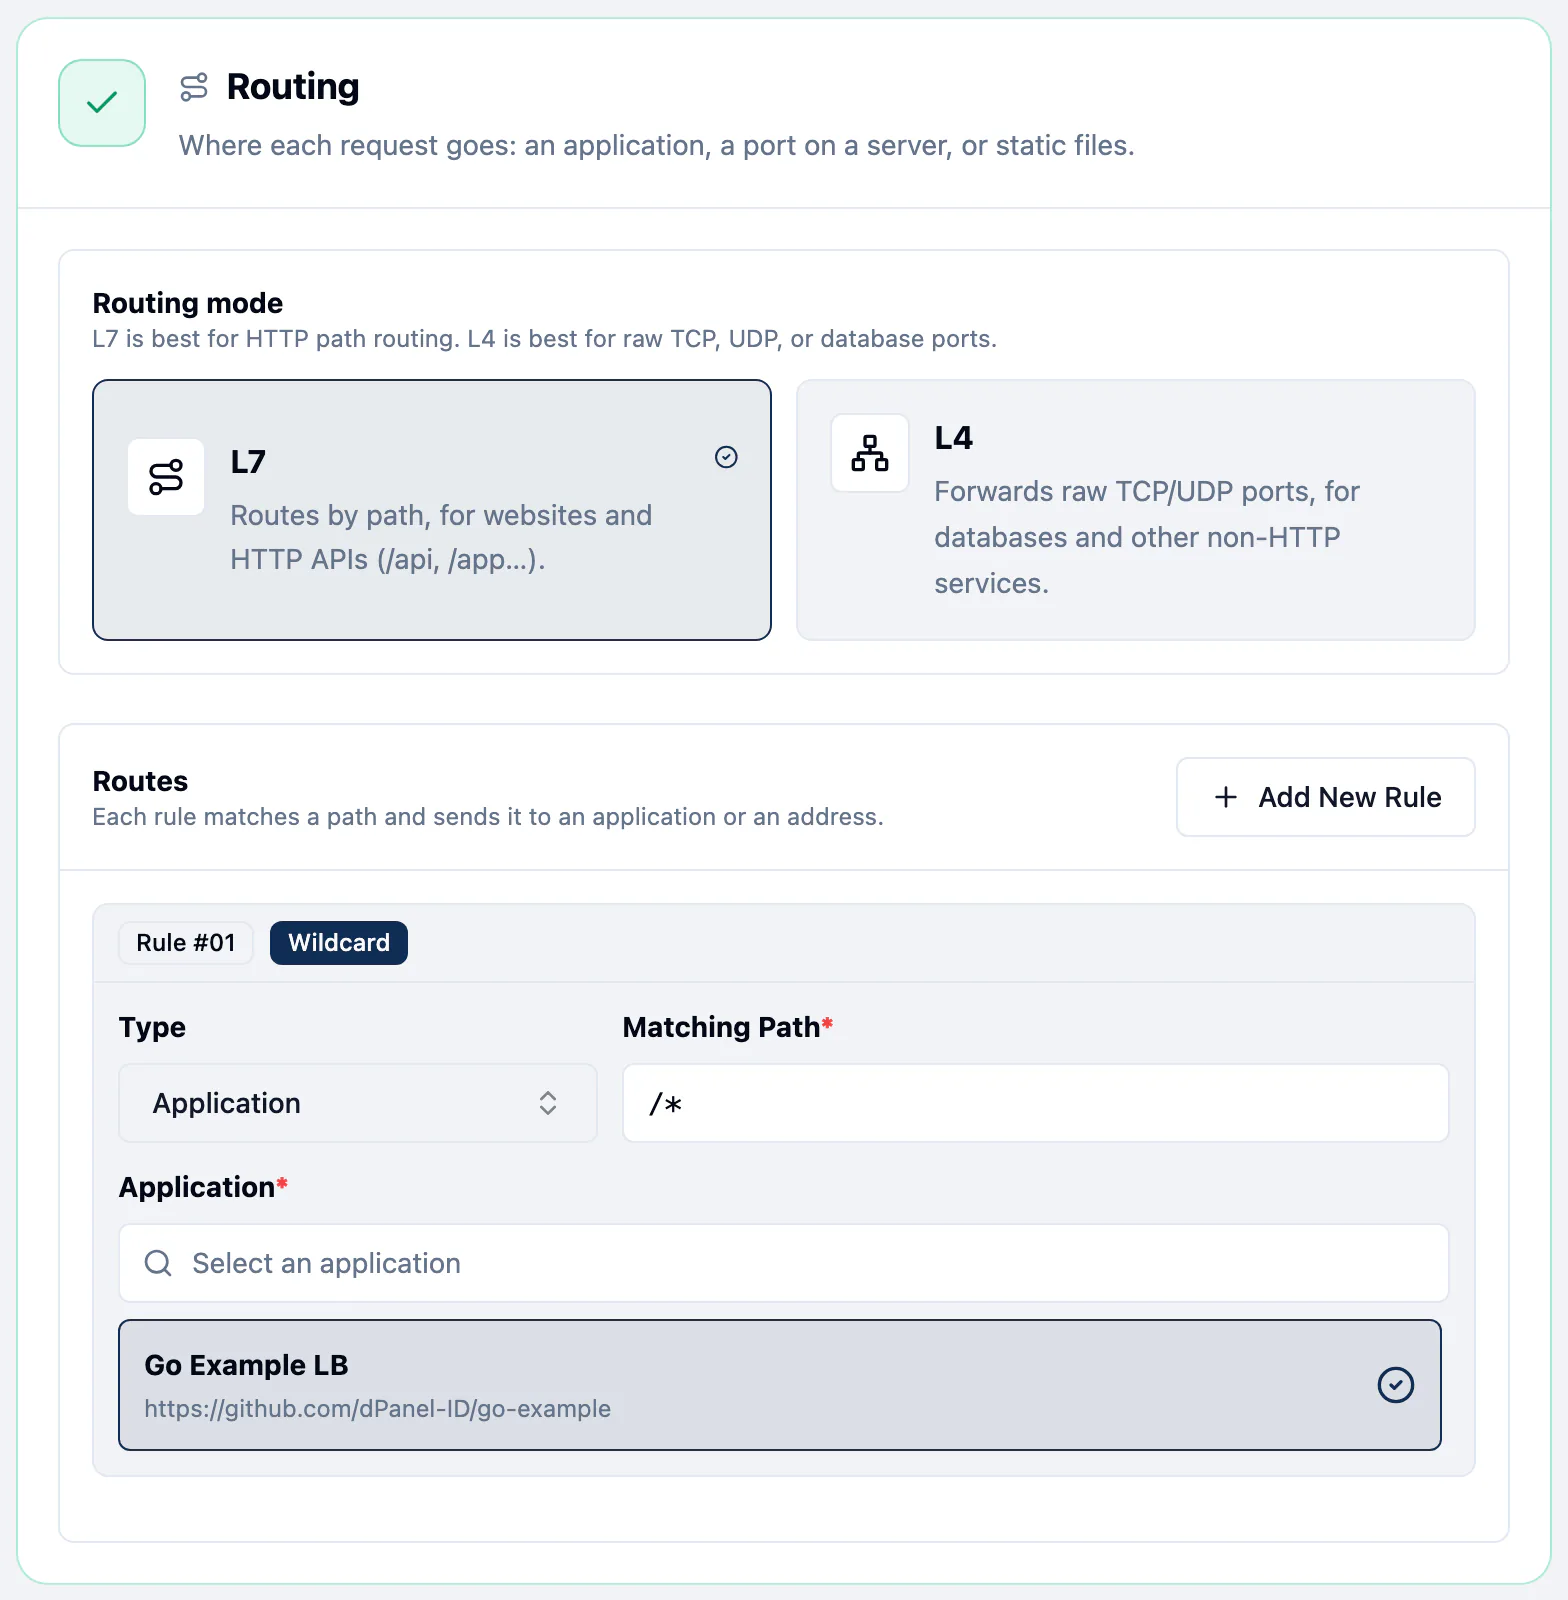
dPanel creates the DNS record, configures the gateway and requests a free Let's Encrypt certificate. After a minute or two, open https://blog.example.com/wp-admin/install.php: the WordPress installer appears. Choose the language, the site title and your admin account, and your site is live. See Load balancers.
When something does not work
| What you see | What to check |
|---|---|
| A module stays in installing, or fails | Open the server's Logs, or ask the assistant why the job failed. Install the module again after fixing the cause. |
| The build fails | Open the application and read the build log of the failed release. See Application logs. |
| "Error establishing a database connection" | The four WORDPRESS_DB_* variables must match the database from step 3. Fix them under the application's settings, then deploy again: a change applies from the next release. |
| The domain does not answer | Wait a few minutes for DNS and the certificate. Check the load balancer's detail page and its logs. A red Load balancer change failed banner has See why it failed. |
| Anything else | See Common problems and fixes. |
Prefer to chat? Do the same with Ask dPanel
Ask dPanel, the assistant at the bottom right of every page, can prepare each step above for you to approve, for example:
On server wordpress-1, create a MariaDB database named wordpress with a user named wp.
It generates the database password and shows it once, on the approval card. When it creates the application, it asks for WORDPRESS_DB_PASSWORD as a field on the approval card, so the password never goes into the chat. More ready-made requests are in the Prompt cookbook.
Clean up
To remove the demo, delete in this order: the load balancer, the application, then the server. See Load balancers, Update or delete an application and Delete a server. Deleting a cloud server also stops its cost at your provider.
Frequently asked questions
Can I use my own WordPress repository instead of the example?
Yes, if it has a build script and a start script that serve WordPress on the port dPanel gives it. The example's scripts/ folder shows what dPanel needs.
Do I need a domain to try this?
You need one for step 5, where the load balancer publishes the site with HTTPS. Steps 1 to 4 work without one.
Why install one module at a time?
dPanel queues installs on a server and runs them one after another. Waiting for each to show Installed makes it easy to see which one failed, if any.